Quick answer: Color corrector works by reducing the visual contrast of discoloration before complexion makeup. The useful shade is determined by the color and depth of the target area, and the successful amount is usually very small.
Start with the surface, finish and setting you actually have
Corrector is optional. If foundation or concealer already gives the finish you want, an extra colored layer adds no value. It becomes useful when repeated beige coverage looks gray, heavy or still allows a localized tone to show through.
Use color theory as a starting point, then check the result on your skin. Packaging names are not standardized, and a peach that suits one skin depth may look pale or chalky on another.
A practical method
Identify the color you are actually trying to neutralize
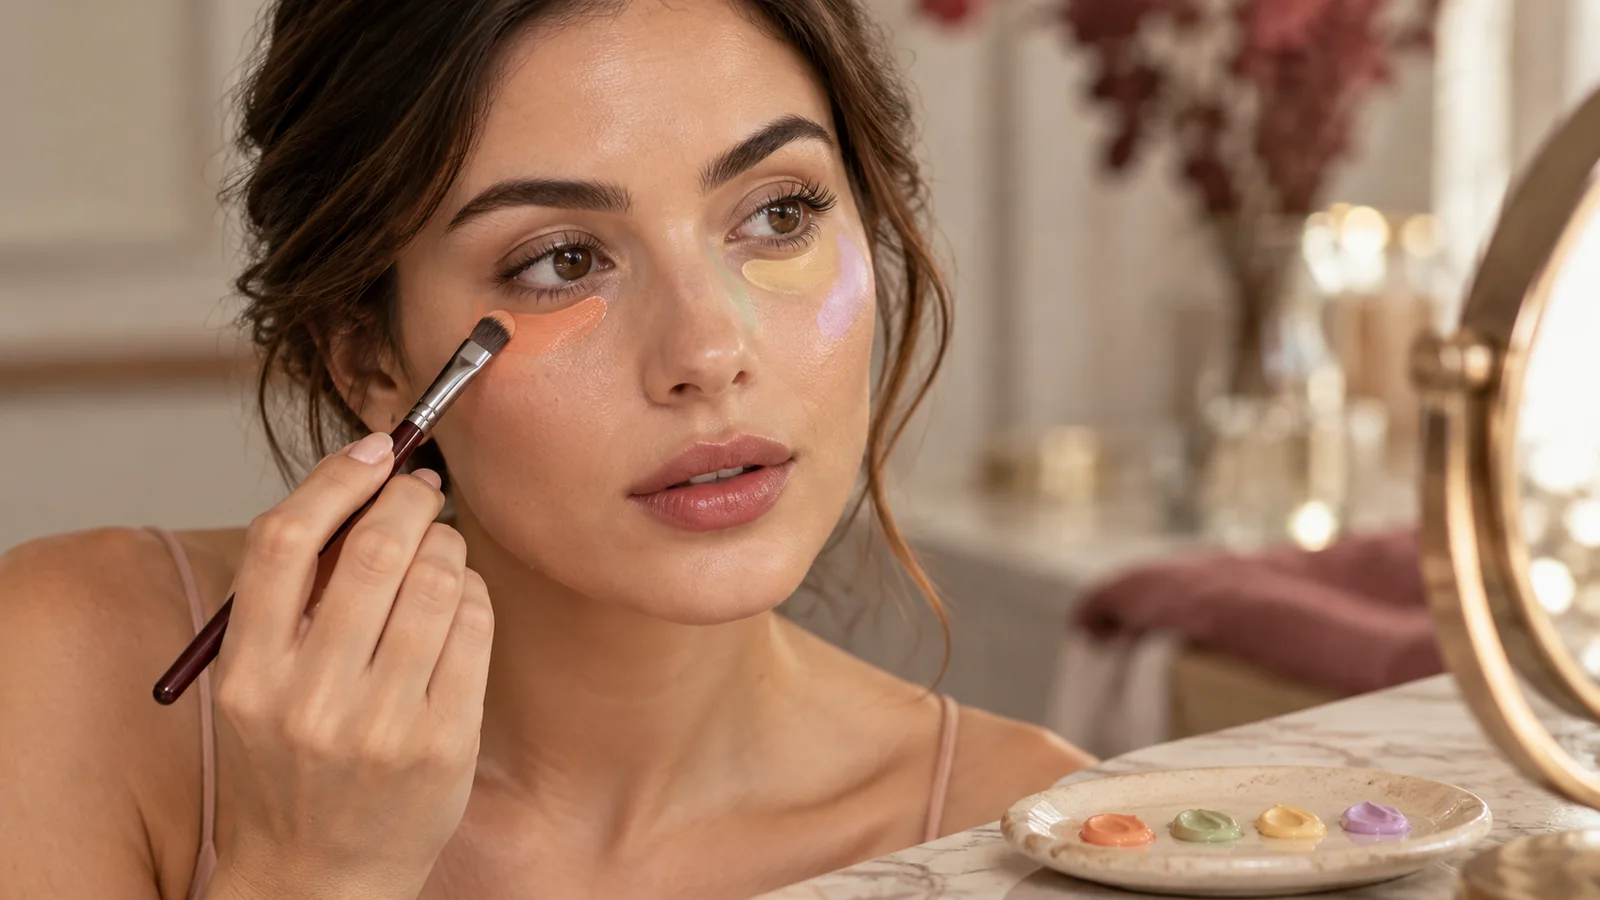
Look in indirect daylight before applying base. Green is used against localized red tones; peach or orange can counter blue, purple or brown-looking shadows depending on skin depth; lavender can offset a sallow yellow cast; yellow may soften purple or blue-violet areas. Do not correct an entire face for one small patch.
Choose corrector depth as well as hue
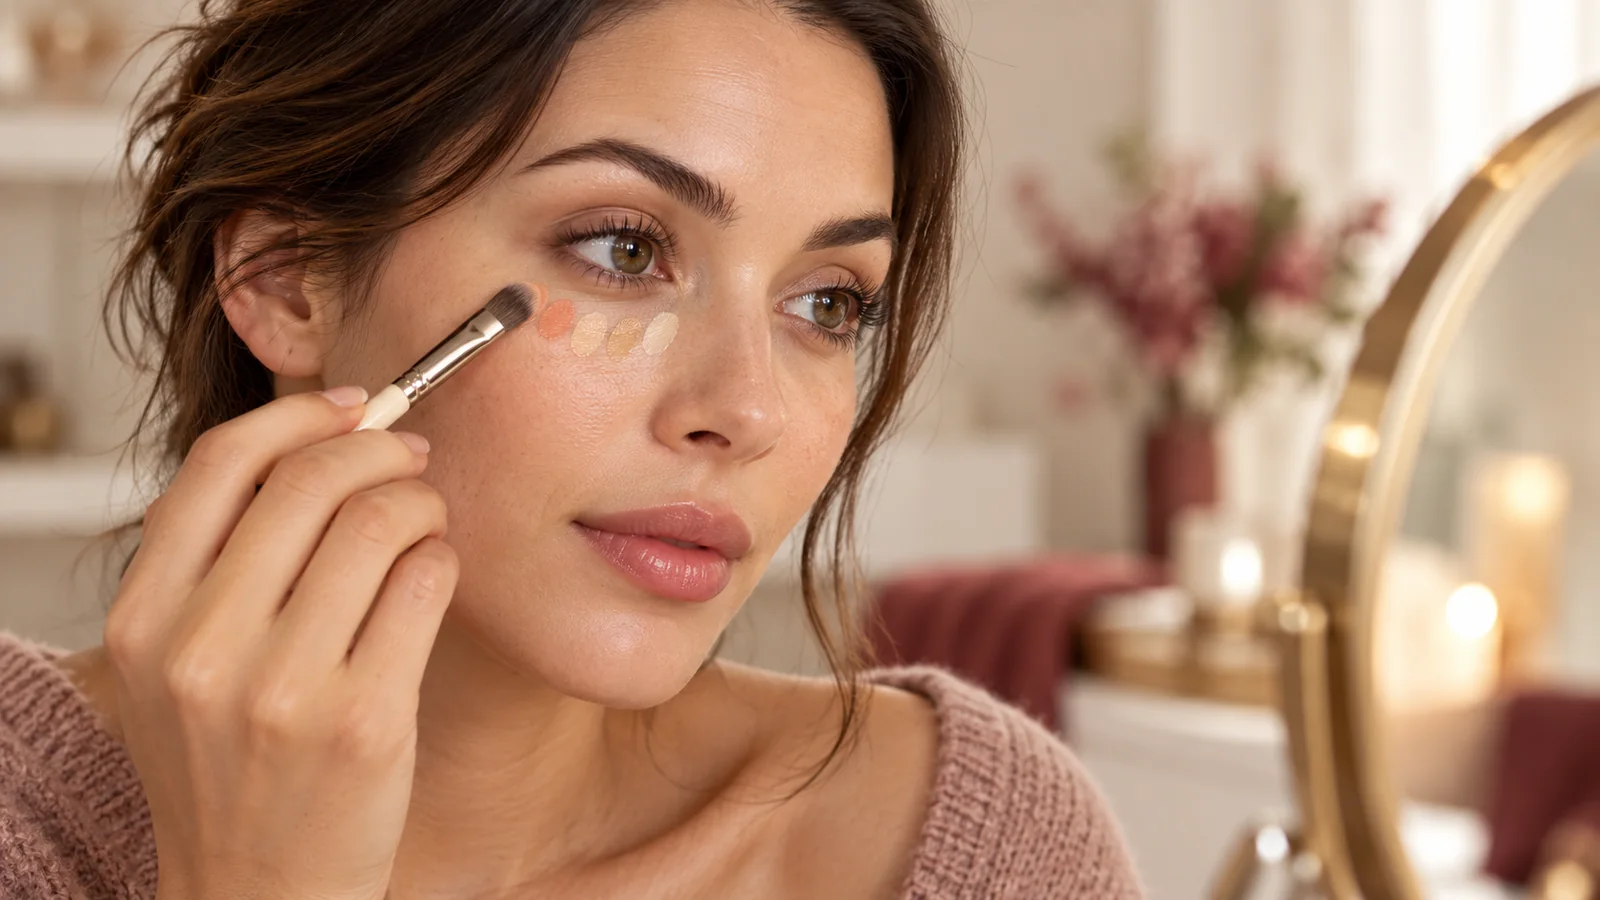
Pale peach may suit light discoloration on fair skin, while deeper orange or red-orange is often more effective on richer skin tones. A corrector that is too light can turn the area ashy. Test a tiny amount and look for reduced contrast, not a visible colored patch.
Apply correction only over visible discoloration
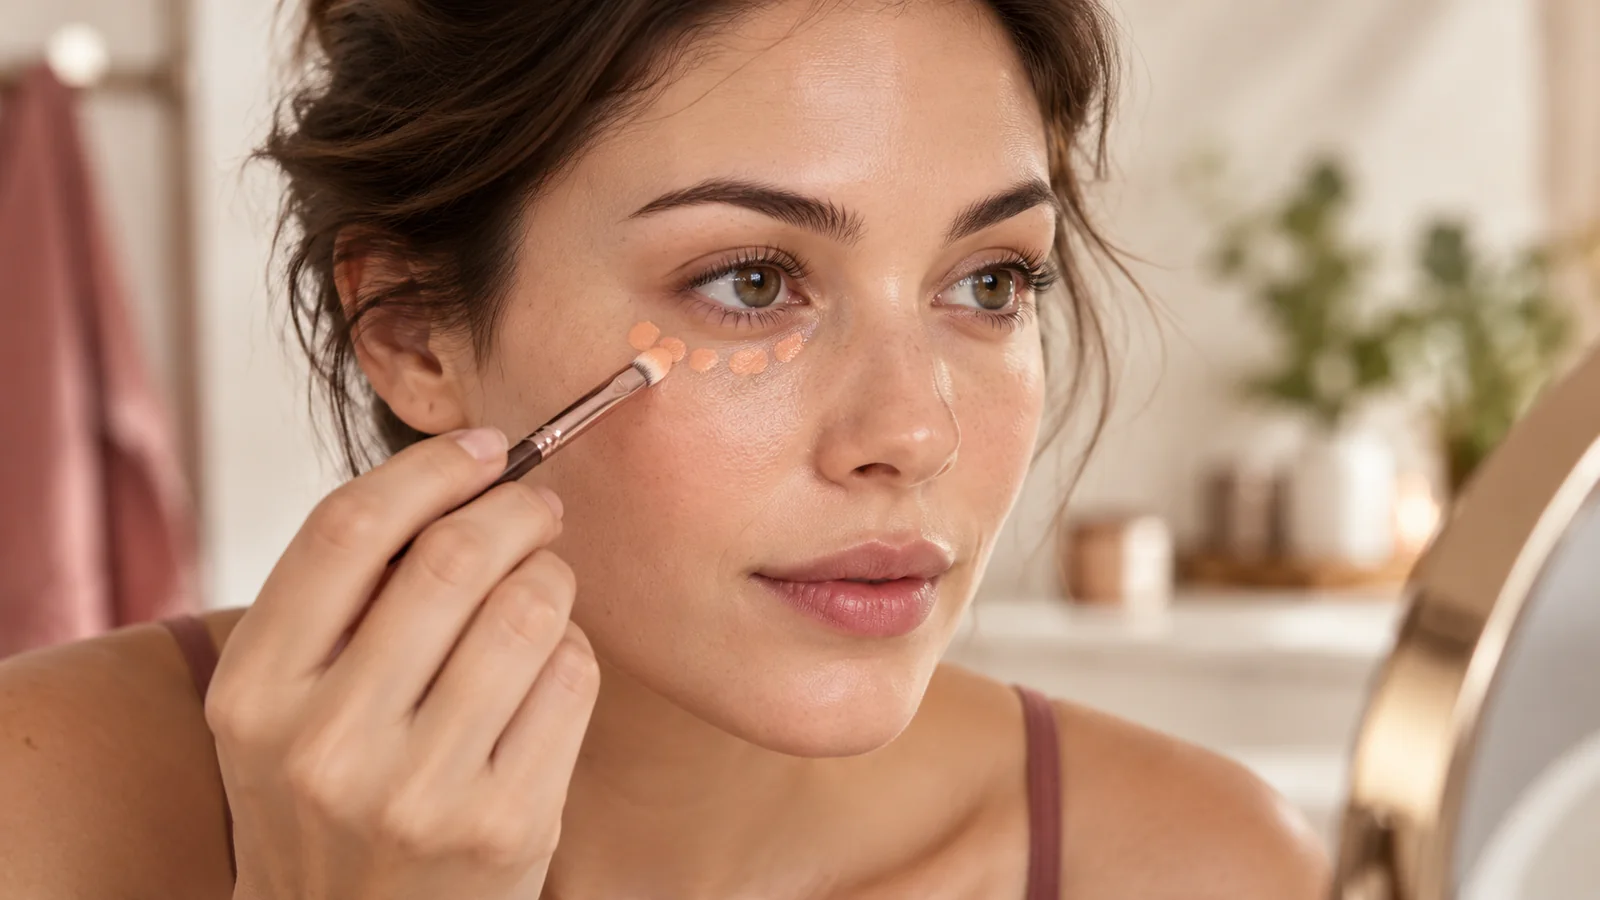
Use a small flat brush or fingertip to place product precisely. Feather the outer edge while keeping most pigment over the center of the discoloration. For inner-corner darkness, stay within the shadow instead of painting a broad triangle under the eye.
Keep the layer sheer enough to disappear under concealer
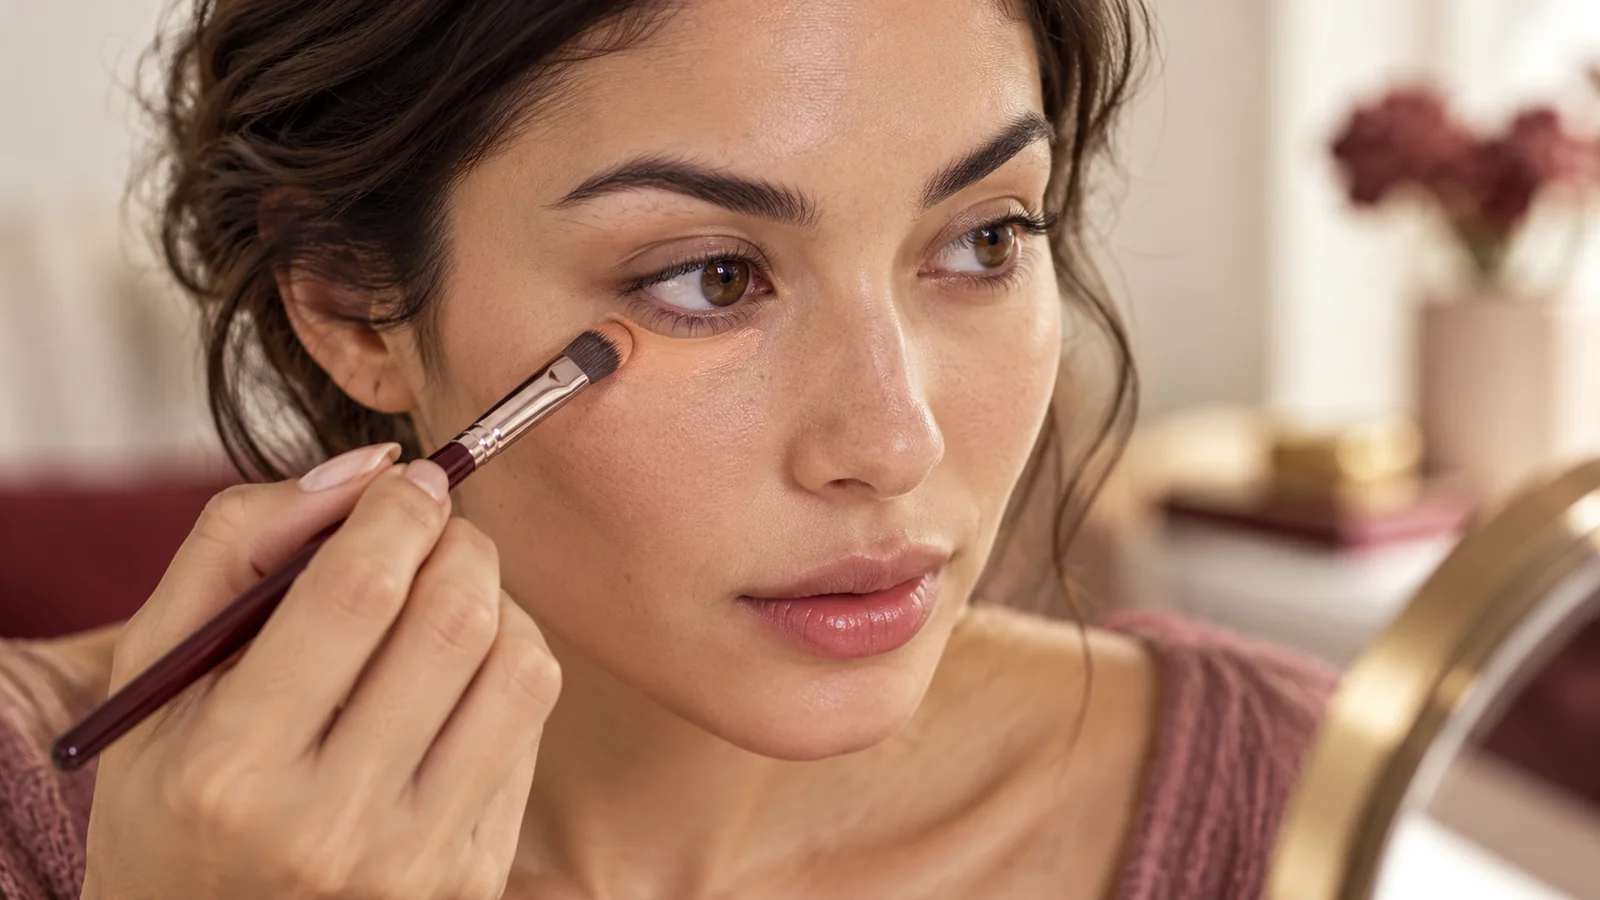
Tap away excess with a clean sponge. The corrected area should look less intense but may not look skin-colored yet. If the orange, green or lavender remains obvious, there is too much product for a natural complexion layer to cover gracefully.
Use foundation after correction without dragging the pigment
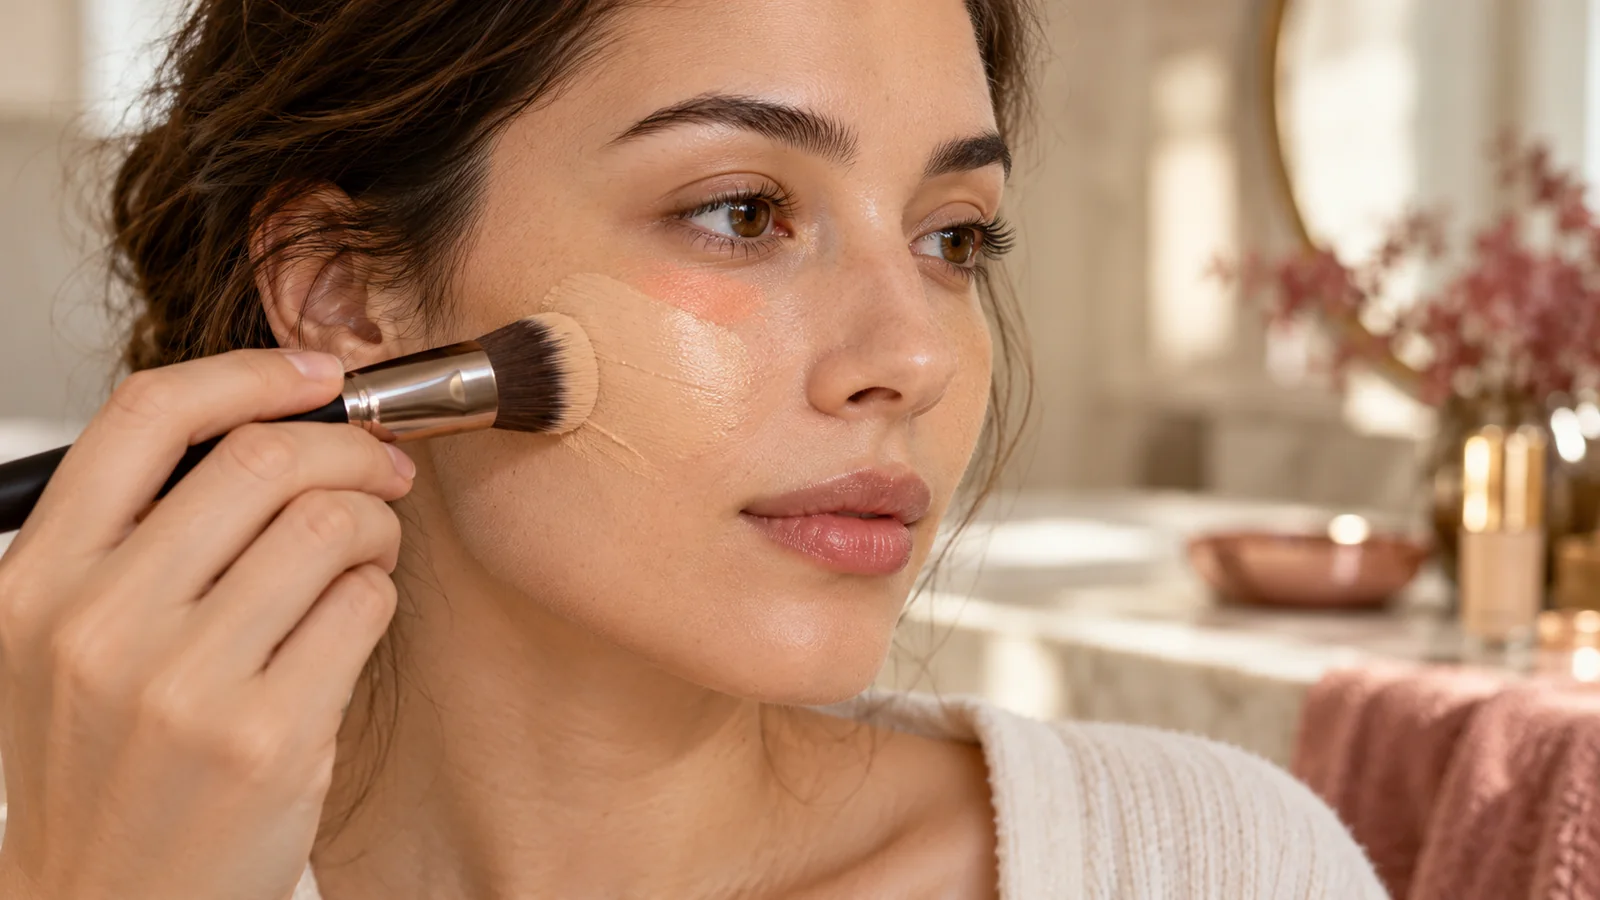
Press foundation or skin-matching concealer over the corrector. Sweeping a brush repeatedly can move colored pigment outside the target. When working near fine lines, follow the thin-layer method in the under-eye concealer guide.
Reassess in natural light before adding more coverage
Check the jaw, inner eye and corrected spot from a normal distance. If the tone looks even, stop. If a small area remains, add skin-colored concealer rather than another broad layer of corrector.
Corrector color reference
| Corrector family | Often used for | Key caution |
|---|---|---|
| Green | Localized visible redness | Can look gray when overapplied |
| Peach to orange | Blue, purple or brown-looking shadow | Depth must suit complexion |
| Yellow | Subtle violet tones | May add unwanted warmth |
| Lavender | Sallow yellow cast | Use very sheerly |
Common errors
- Choosing from a color wheel without considering skin depth.
- Using opaque corrector across a large area.
- Dragging the correction while applying foundation.
- Correcting normal variation that does not bother you.
A well-matched base still matters; use multiple observations from the guide to finding your undertone.
Frequently asked questions
Do I need green corrector for every red blemish?
No. A skin-matching concealer may be sufficient. Green is useful when redness remains obvious through a reasonable amount of beige coverage.
Can I mix corrector with foundation?
Mixing can change the tone of the entire base. Precise layering usually offers more control for localized discoloration.
Why does peach corrector look gray under concealer?
The corrector may be too light, too thick or poorly matched to the discoloration depth. Remove excess and test a deeper, sheerer tone.
The bottom line
Correct only the color that is present, with a depth that suits the complexion. A translucent, well-placed adjustment should reduce the amount of foundation needed—not create another layer to hide.