Quick answer: Concealer creases when flexible skin, facial movement and excess product meet. The most reliable fix is not a completely immobile finish; it is a thin, well-placed layer that can move without collecting heavily in fine lines.
Why under-eye concealer creases
The eye area changes shape every time you blink, smile or squint. Any fluid cosmetic placed there moves too. Creasing becomes more noticeable when concealer is applied across the entire under-eye area, when a rich eye cream has not settled, or when powder is added heavily enough to create a dry surface over a flexible layer.
Fine lines are normal skin structure, not a flaw that makeup can permanently erase. A better goal is to reduce obvious product buildup while keeping the under-eye area comfortable. That distinction matters: a very matte, heavily powdered finish may look smooth in one photograph but feel tight and emphasize texture in ordinary light.
Before changing products, identify where you actually need correction. Blue or purple shadow is often strongest near the inner corner, while redness may sit closer to the nose. If discoloration occupies only a small area, covering the whole under-eye with the same amount creates unnecessary weight.
A crease-resistant application method
Prepare the under-eye area with a light layer of skincare
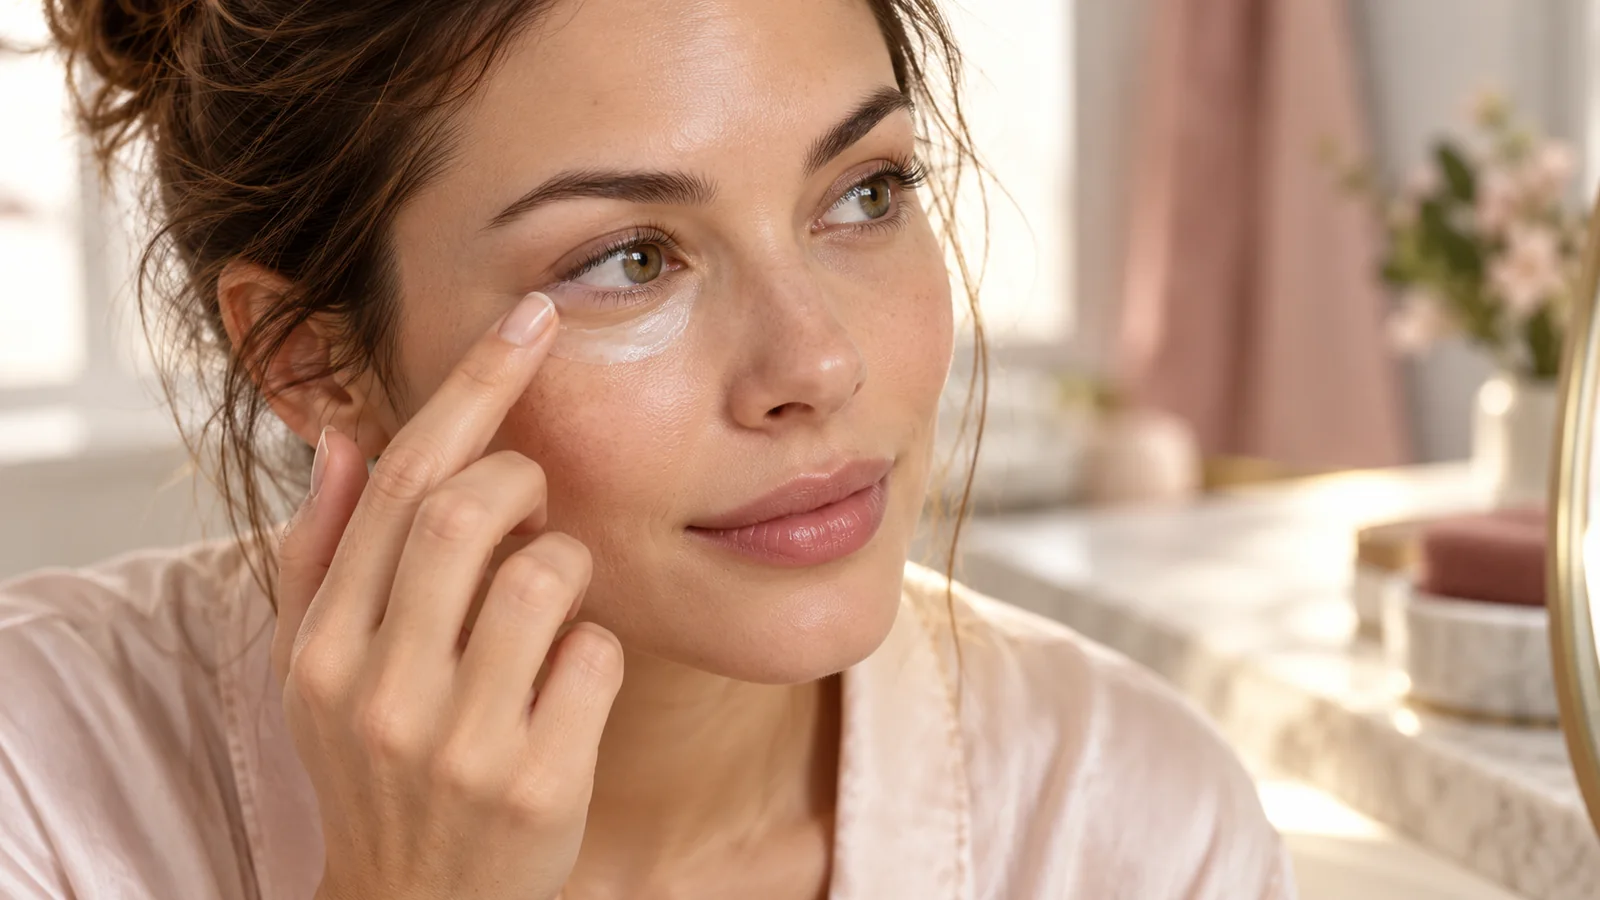
Use only enough moisturizer to remove a tight or papery feeling. Pat it on gently and give the surface time to settle before applying makeup. If the area still feels slippery, press a clean tissue lightly against the skin rather than adding powder at this stage.
Very rich balms can be useful at night but may make daytime concealer travel. Conversely, skipping moisture entirely can cause pigment to catch on dry patches. Aim for a comfortable surface that feels conditioned rather than coated. The same principle—light preparation instead of heavy correction—also helps when applying makeup over visible skin texture.
Choose concealer coverage according to discoloration rather than habit
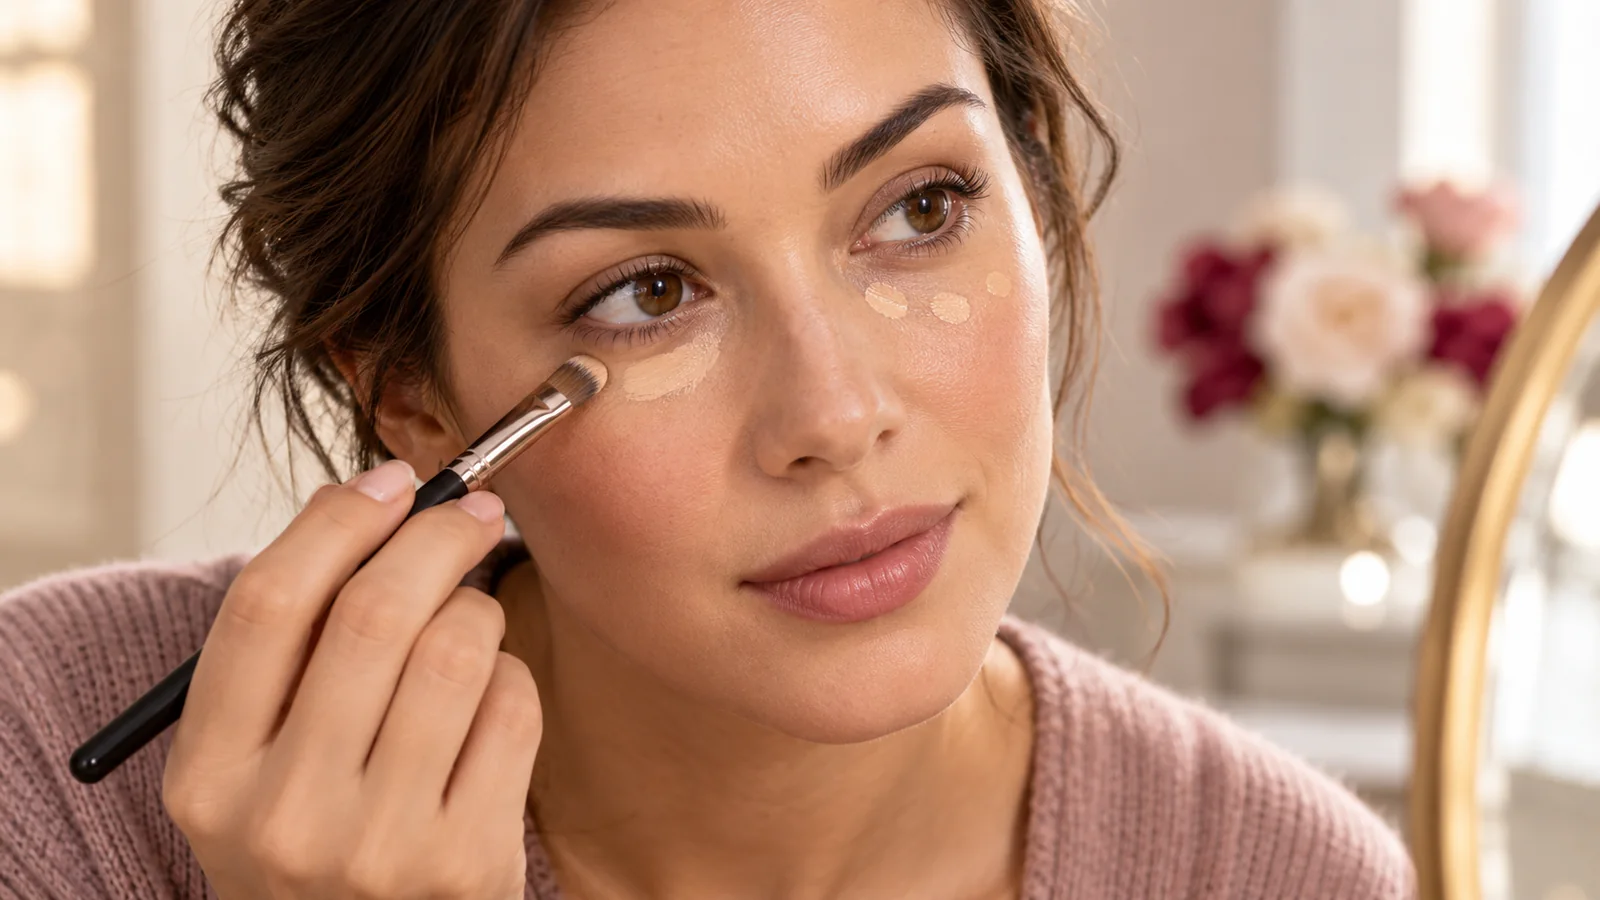
A flexible, medium-coverage formula is often easier to manage than an opaque product that requires perfect blending. If the concealer is very fluid, let a small dot sit briefly before blending so it does not spread farther than needed. If it is dense, warm a tiny amount on the back of a clean hand and pick it up with a brush or fingertip.
Shade also affects how much product you use. A concealer that is dramatically lighter than your complexion may need extra layers to cover darkness without looking gray. For everyday correction, a shade close to the surrounding skin usually looks more natural; a subtly brighter shade can be reserved for the inner corner. If shade matching is confusing, begin with the complexion cues in the guide to finding your skin undertone.
Place product only where visible correction is needed
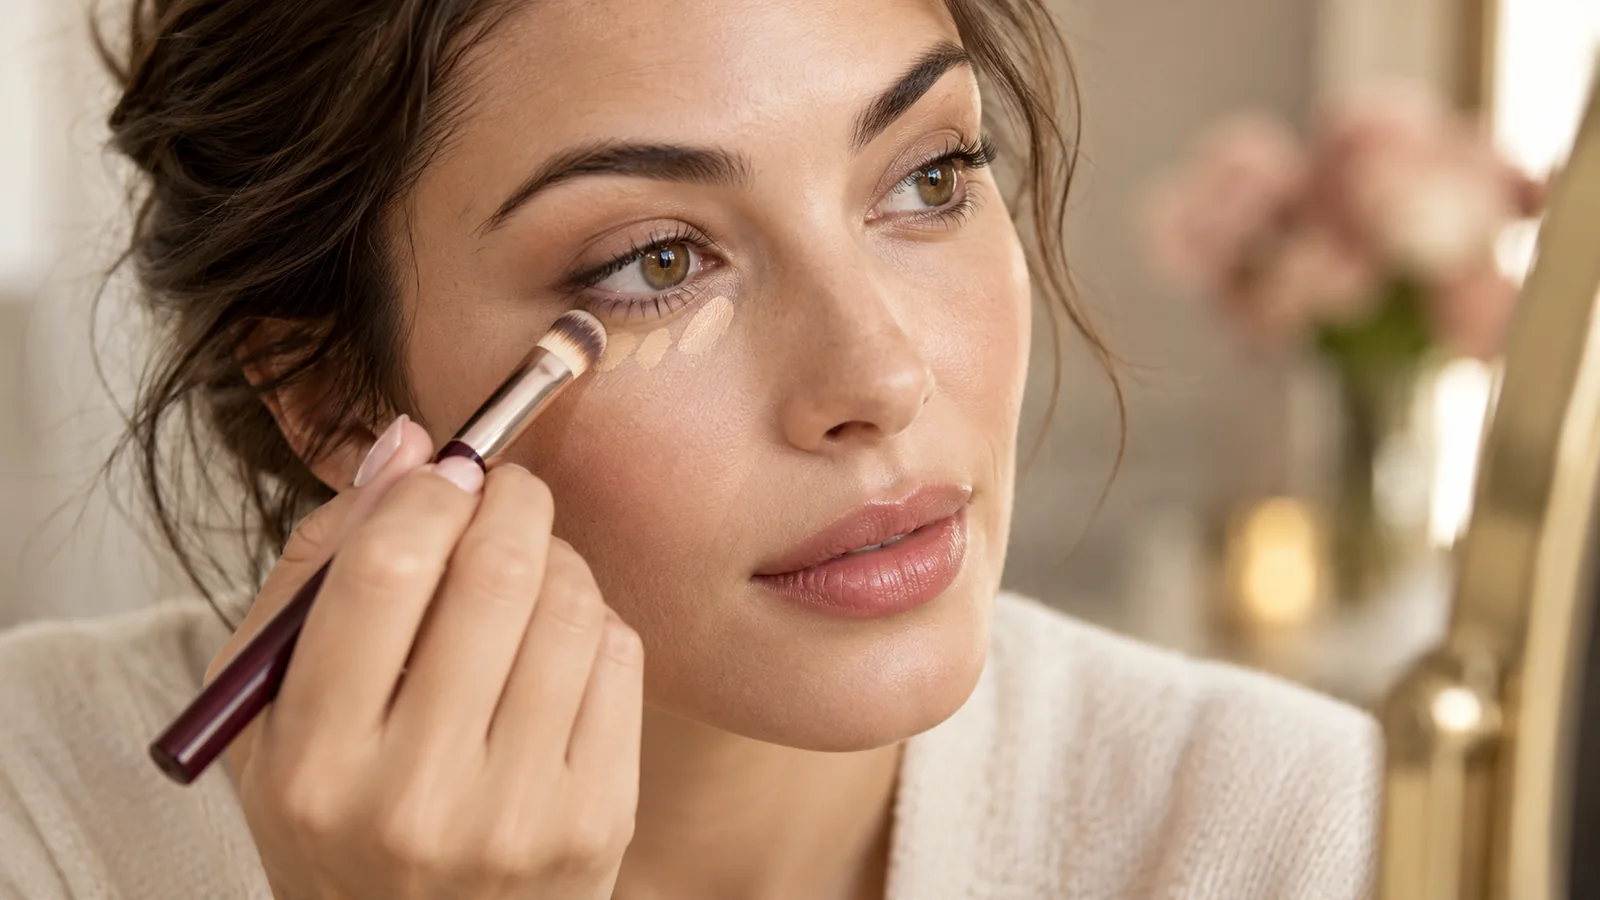
Start with one small dot near the inner corner and another only where shadow remains. Keep the heaviest concentration away from the deepest expression lines. Blend the edges outward so the corrected area transitions into bare skin or foundation without leaving a visible border.
Pause before adding more. Under-eye makeup often looks more even after the first layer has settled for a minute. If darkness still shows, add a pin-sized amount precisely to that spot instead of repeating a full crescent of concealer.
Blend with controlled pressure instead of repeated rubbing
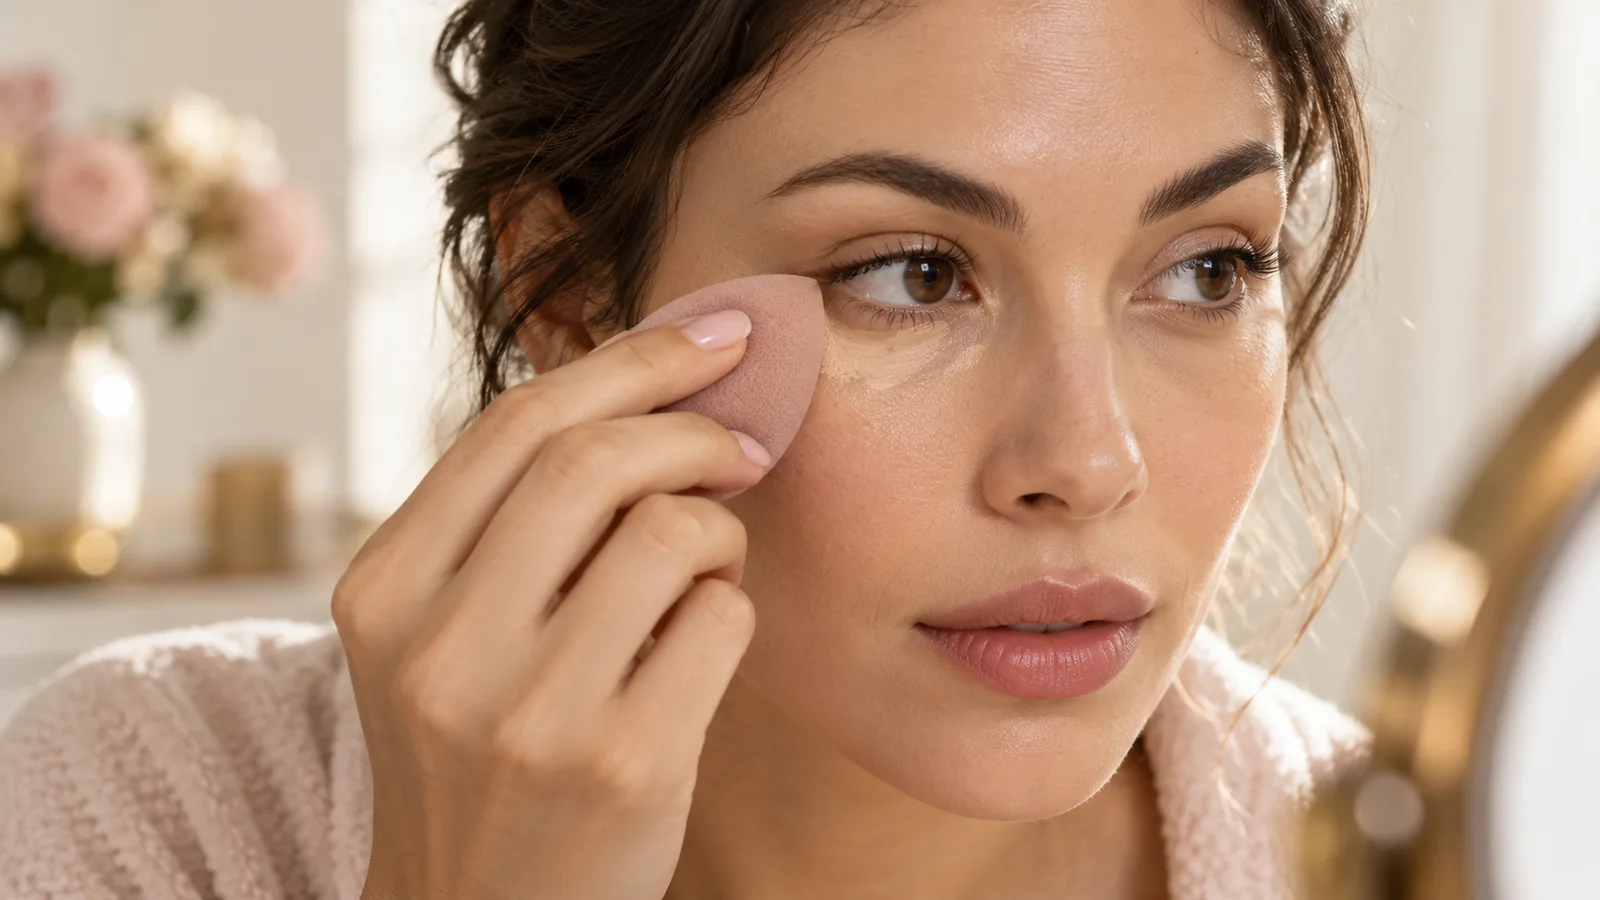
A fingertip can melt a small amount of product into the skin, while a small synthetic brush offers precise placement. A damp sponge removes excess and softens edges, but a very wet sponge can sheer coverage too quickly. Whichever tool you choose, press and lift rather than dragging back and forth.
After blending, look up and gently smooth any product that has already gathered in a line. Doing this before powder matters: powder locks in whatever is underneath, including an early crease.
Set selectively with a very small amount of powder
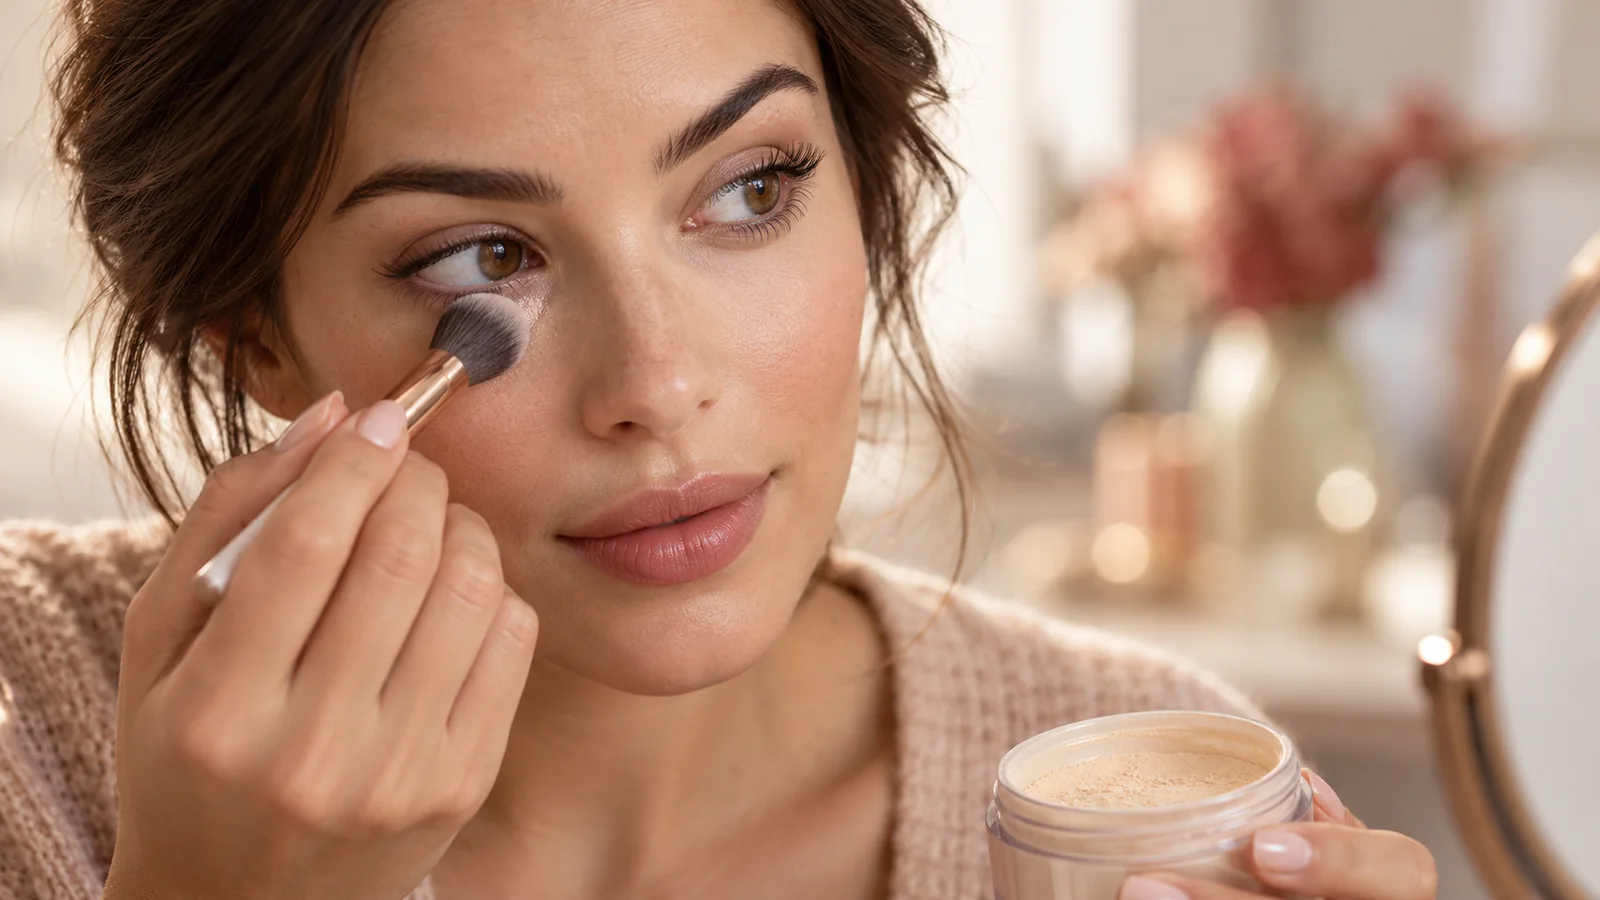
Powder is optional. If your concealer stays in place without it, skipping powder may preserve a fresher finish. When setting is useful, load a small fluffy brush or puff, tap away visible excess, and press only over the zones that tend to move.
Loose and pressed powders can both work; particle fineness and application amount matter more than format alone. Avoid repeatedly baking a thick layer under the eyes if your goal is natural texture. The comparison between setting spray and setting powder explains why the two products solve different wear problems.
Refresh creased areas without adding another full layer
If a crease appears later, wash or sanitize your hands, then tap the line gently with a clean fingertip or a barely damp sponge. The goal is to redistribute what is already there. Adding fresh concealer directly over dry powder usually makes the area thicker and more obvious.
For a longer day, carry a small sponge or cotton swab rather than the entire base routine. A thirty-second correction is often more effective than layering extra product in the morning in anticipation of movement.
Which product texture suits the situation?
| Texture | Best suited to | Watch for |
|---|---|---|
| Serum-like liquid | Light correction and a skin-like finish | Spreading beyond the target area |
| Flexible cream | Moderate discoloration and precise placement | Applying more than the skin can hold |
| High-coverage matte | Small areas needing stronger correction | Dryness or a heavy finish across fine lines |
| Color corrector plus concealer | Persistent blue, purple or brown shadow | Using two thick layers instead of two sheer ones |
A corrector should neutralize discoloration, not create a visible orange or peach patch. Apply the least amount that changes the tone, then use a thin layer of skin-matching concealer above it.
Common causes of a heavy or cracked result
- Too much eye cream: emollient layers can prevent makeup from gripping evenly.
- Concealer everywhere: covering areas without discoloration adds texture without adding value.
- Powder before smoothing: setting a visible crease makes it harder to correct.
- A very bright shade: the contrast can make normal texture more noticeable.
- Frequent rubbing: repeated blending moves coverage away from the area that needs it.
- Judging from a magnifying mirror alone: evaluate the result at conversational distance and in ordinary light.
Frequently asked questions
Can concealer be completely crease-proof?
No formula can prevent normal skin movement. A good routine minimizes obvious buildup and makes small touch-ups easy. Claims such as “crease-resistant” are more realistic than expecting the under-eye area to remain unchanged all day.
Should mature skin avoid powder under the eyes?
Not automatically. Some people prefer no powder, while others benefit from a trace amount in the inner corner or along the lower lash line. Use the finish and comfort of your own makeup as the guide, not age alone.
Why does concealer crease on only one eye?
Facial expression, eye shape, sleep position, watering and differences in skin texture can make one side behave differently. Apply and set each eye according to what you observe instead of forcing perfectly identical amounts.
The bottom line
Crease control comes from restraint: light skincare, targeted concealer, deliberate pressing and selective powder. Work with natural expression lines rather than trying to fill them with makeup. When the layer is thin enough to move, any crease that appears is easier to smooth and far less noticeable.