Quick answer: Blush placement changes the impression of lift, central warmth and facial width. Decide on the visual effect first, place a small amount precisely, then blend without letting color spread everywhere.
Begin with the actual purpose
Face-shape rules are only starting points. Bone structure, glasses, hairstyle and expression change what looks balanced. The same person can use several placements for different moods.
A practical method
Decide whether you want lift, central warmth or sculpted color

High outer placement pulls attention toward the temples; color on the apples creates a rounder flush; a broad cheek-to-temple sweep feels more sculptural. Choose one main direction instead of combining all three unconsciously.
Start with less pigment than the final result requires
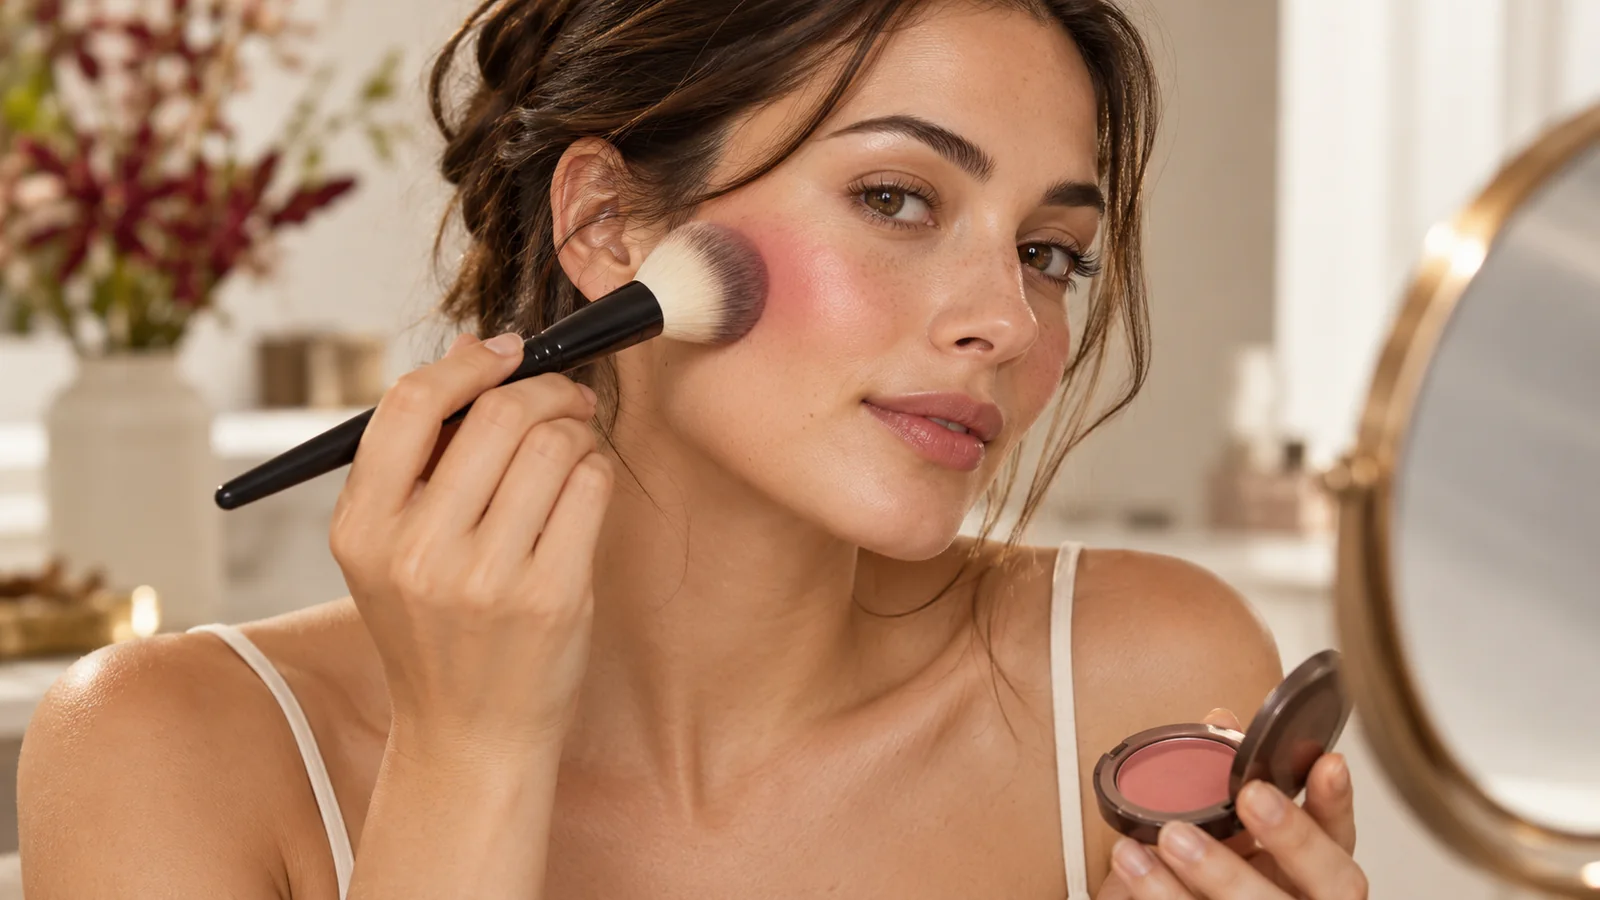
Remove excess from a powder brush or place cream on the back of the hand first. Build a translucent layer on both cheeks before adding intensity. Highly pigmented blush is easier to deepen than erase from completed foundation.
Place color before blending beyond the intended area
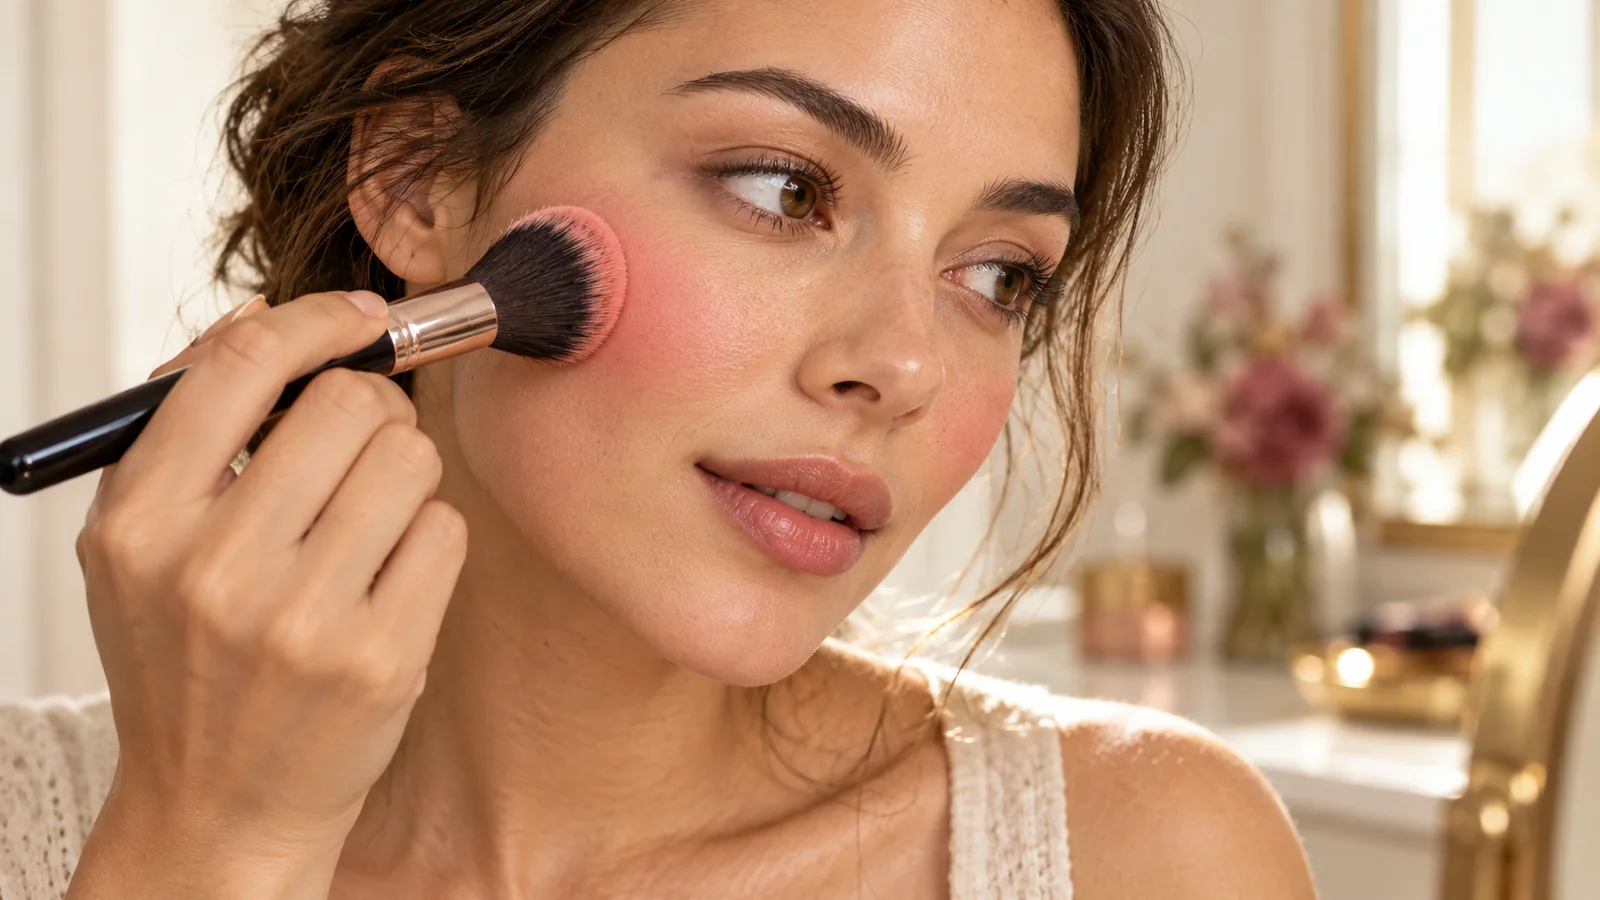
Deposit pigment at the center of the selected zone, then soften only its edges. Large circular motions can carry color toward the nose, under-eye and jaw. Use a clean brush or sponge to refine the border.
Connect blush gently with bronzer or highlighter when used
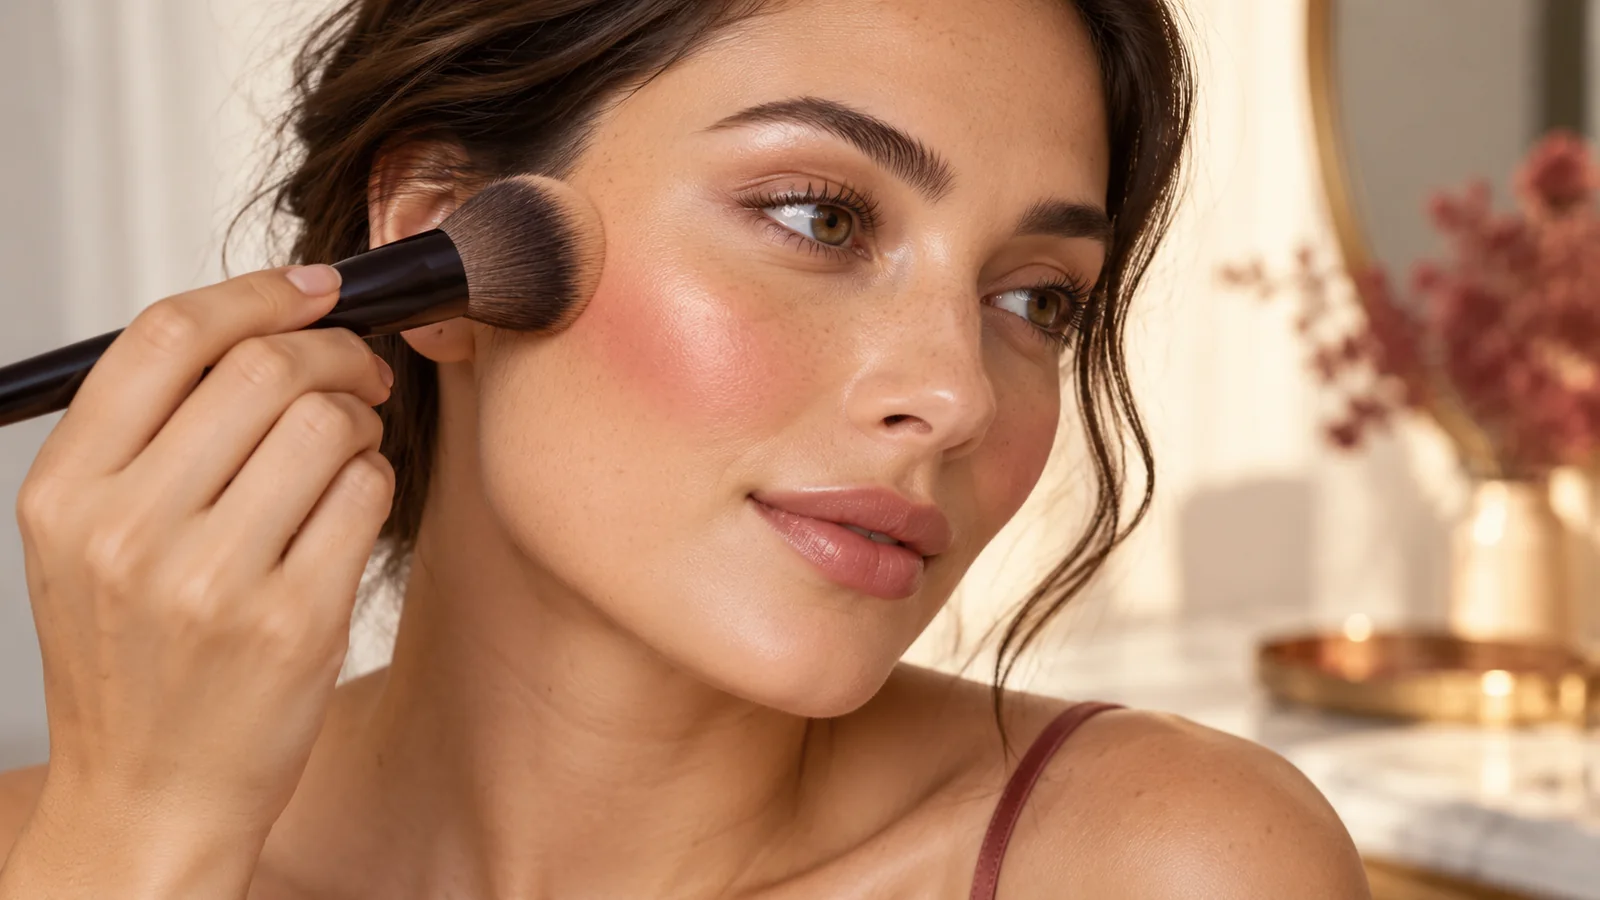
Allow a small overlap at the outer cheek, but preserve each product’s role. Bronzer supplies warmth, contour creates shadow and blush provides flush; the bronzer-versus-contour guide clarifies those jobs.
Adjust placement for glasses and prominent features

Glasses may cover high inner cheek color, so check the look with frames on. If lipstick is deep or eyes are dramatic, use a muted blush and smaller area so the face retains one clear focal point.
Review symmetry without forcing both sides to look identical
Step back, relax the face and compare color height and intensity. Natural cheeks are not perfectly symmetrical. Correct the visual balance in small increments instead of expanding both sides repeatedly.
Placement map
| Goal | Starting placement | Blend direction |
|---|---|---|
| Lift | Upper outer cheek | Toward temple |
| Fresh flush | Apples | Softly outward |
| Editorial drape | Outer cheek and temple | Broad controlled arc |
| Understated warmth | Mid-cheek | Diffuse edges |
Choose cream or powder application using the blush formula comparison.
Frequently asked questions
Should blush go above or below cheekbones?
High placement supports lift, while central placement supports a fresh flush. Neither is universally correct.
How close should blush come to the nose?
Keep initial placement away from the nose and blend inward only if central warmth is intentional.
Can blush replace bronzer?
A warm blush may supply enough color for a simple look, but it does not need to imitate bronzer placement.
The bottom line
Placement is a design choice, not a face-shape commandment. Put pigment where the chosen effect begins, keep the first layer sheer and control the direction of the blend.